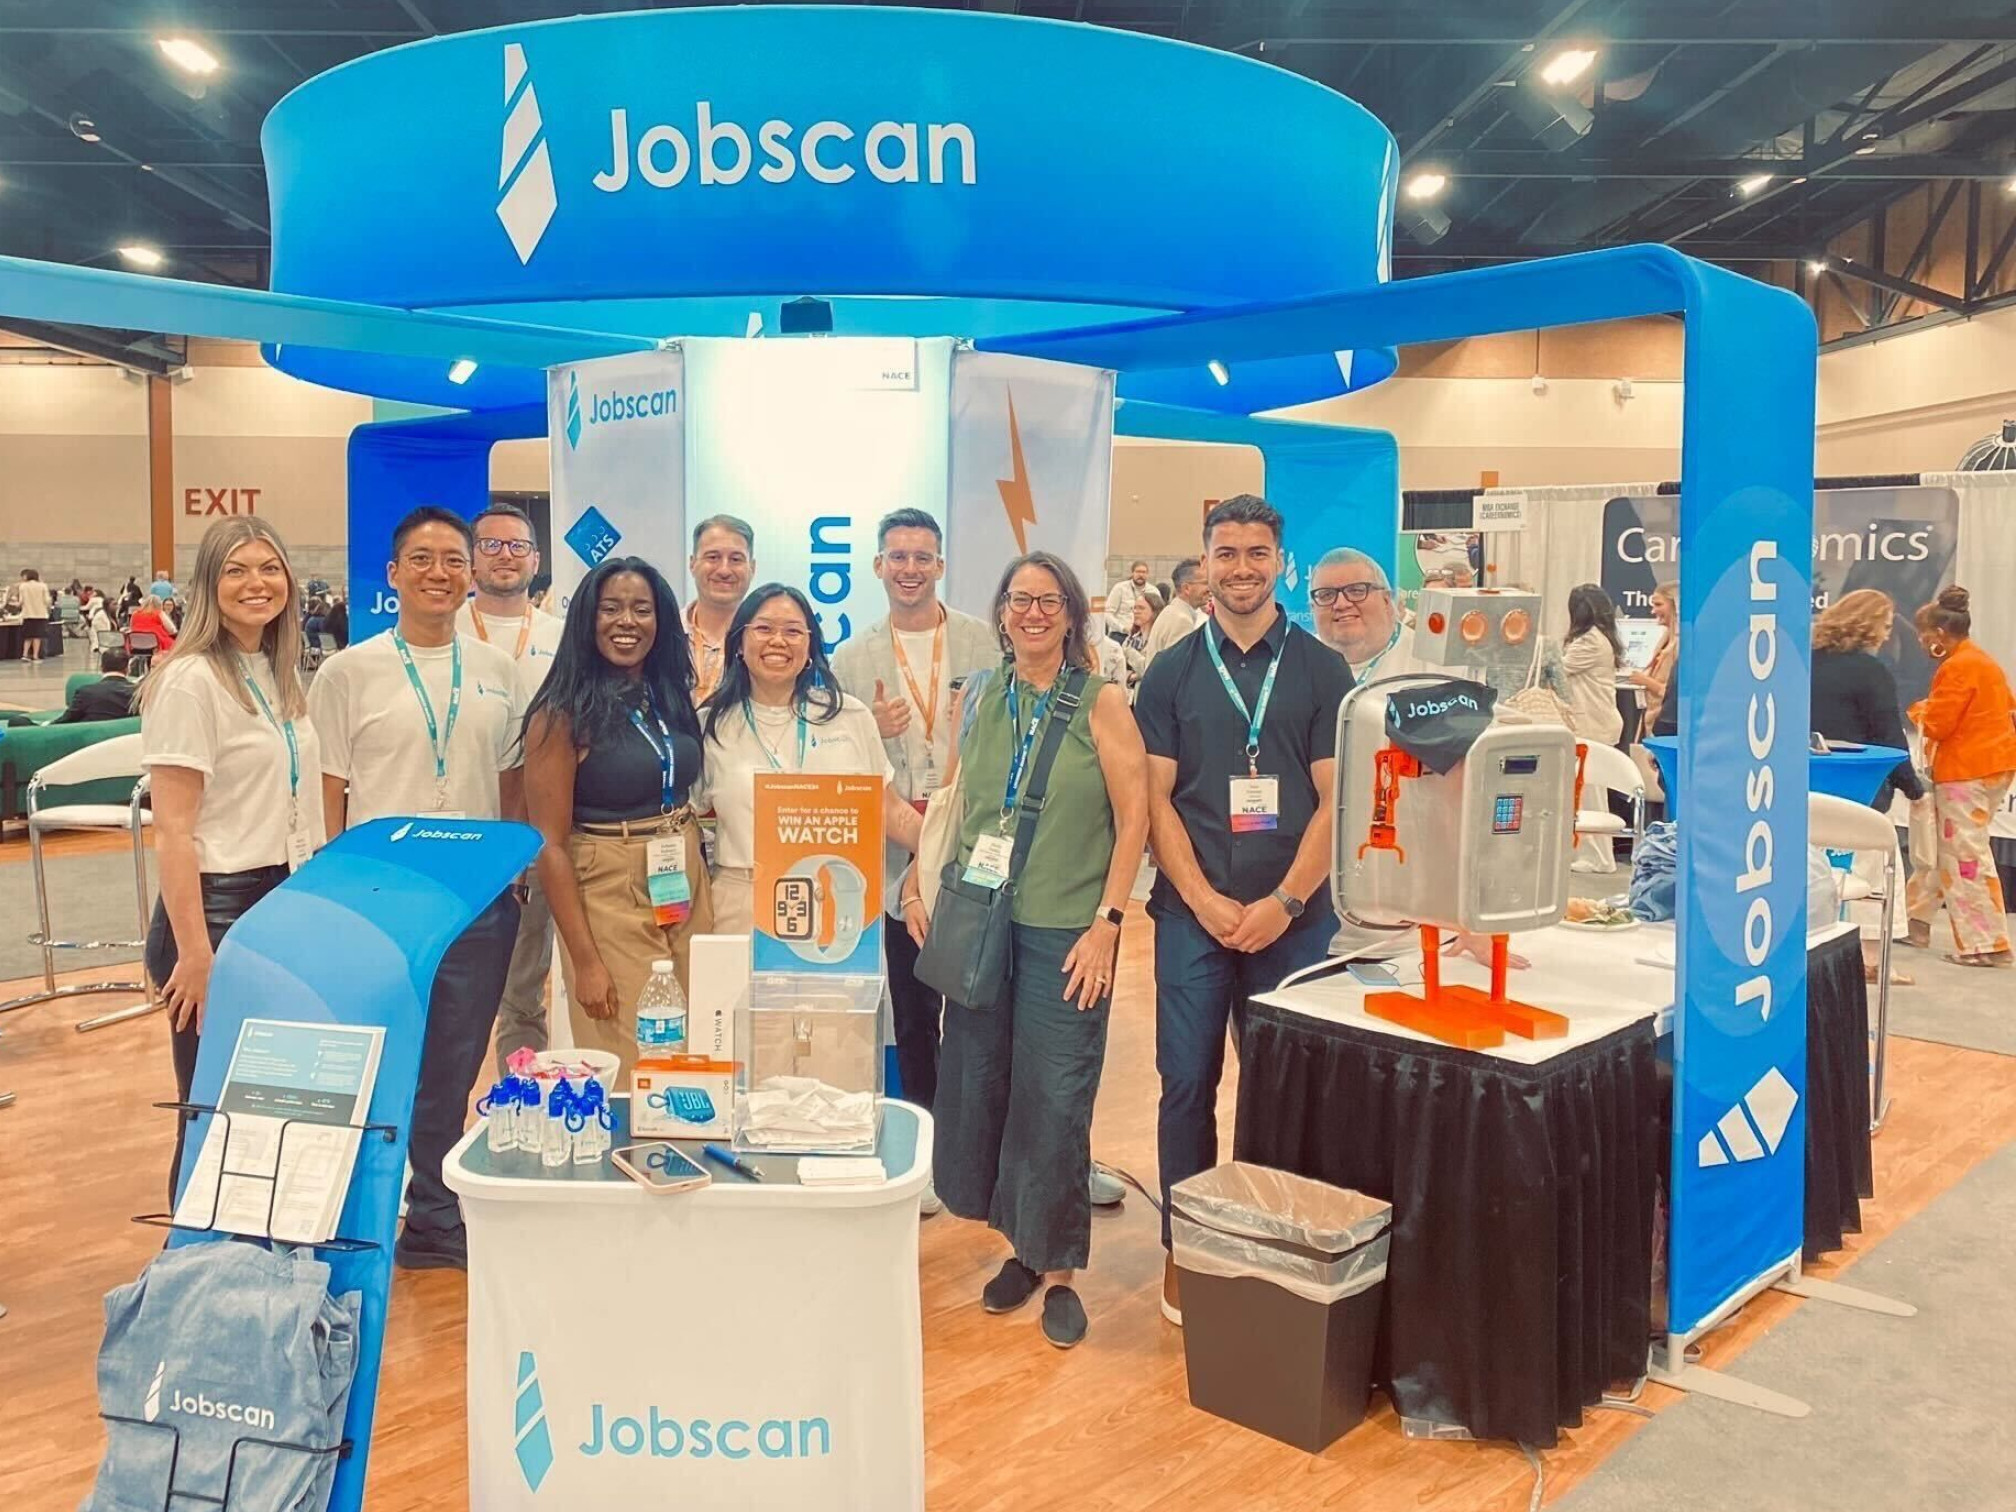
Earlier this year, sitting down with some members of Jobscan’s B2B marketing team at the company’s annual retreat in New Orleans, they were talking about an upcoming conference, NACE 2024. They were planning a massive booth to really bring up their presence this year. One of the marketing people on the team made an off-side comment like “Too bad we can’t have a real JoeBot to greet people at our booth.”
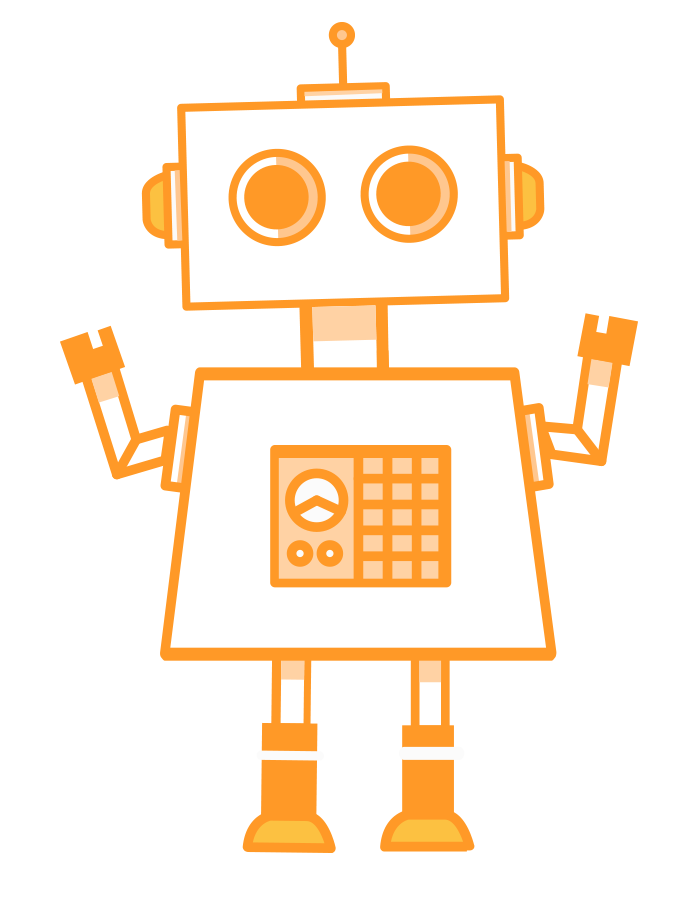
JoeBot is Jobscan’s mascot, an orange and white boxy cartoon robot with a button panel on his chest, round eyes, claw hands and an antenna.
Perhaps I had one too many Mai Tais at that point because I responded “Well it wouldn’t be that hard to make a real JoeBot.”
Of course saying that something would be possible is essentially volunteering to actually do the thing, so I set to work to make my first ever robot.
Step 1: Defining Scope
Of course I could make a statue of a robot, but that wouldn’t really do, I wanted to make the robot functional. The first step was to figure out just what functionality I wanted it to have. With only a few months available to me and a very limited budget, I immediately decided that walking was out. JoeBot would be stationary. I would make him stand on legs, but those legs would not move.
I did however want JoeBot to be able to move his hands and arms, I wanted his eyes and antenna to glow, and I wanted him to talk, ideally be able to talk to people rather than at people, but that would be the first bit of scope to go if I ran up on a time crunch.
Step 2: Determining the Body
To make things simple, I decided to have the main body of the bot be a rubberized plastic storage tub. The lid would be the back of the bot, which would be how I’d get to the internals if I needed to make any adjustments.
Similarly, the head was also a box, but for this I went with a wooden crafting jewelry box, the type of plain wooden boxes you can buy at your average craft store and paint or adjust as necessary.
For the skeletal structure, I went with 1.5” PVC Pipe, and for all the joints necessary for this skeletal structure, I would just use standard PVC couplings.
To give him a stable base to stand on, I’d make his feet out of a pair of 2×4 blocks, making for a heavy and stable structure.
For the antenna and ears, I had a head start. A couple of years ago I had actually made a JoeBot costume for the company Halloween zoom party.
When I made that costume, I 3D modeled and printed the antenna and ears based on the proportions in the original image. I still had the files, so it was just a matter of 3d printing them once again, with a little orange alcohol ink added to the resin to make them translucent orange.
The arms, I wanted something a bit more… mechanical.
Step 3: Movement
While I had made Raspberry Pi based devices before, I had never worked with servos, so I knew I was going to want some help. Fortunately I found a little robot arm kit on Amazon that had movable shoulder, elbow, wrist, and claw hands, was made to be controlled by a Raspberry Pi, and as luck would have it, it was made almost entirely of bright orange acrylic which matched JoeBot’s color scheme perfectly.
I bought 2 and when they arrived I started by building one full kit.
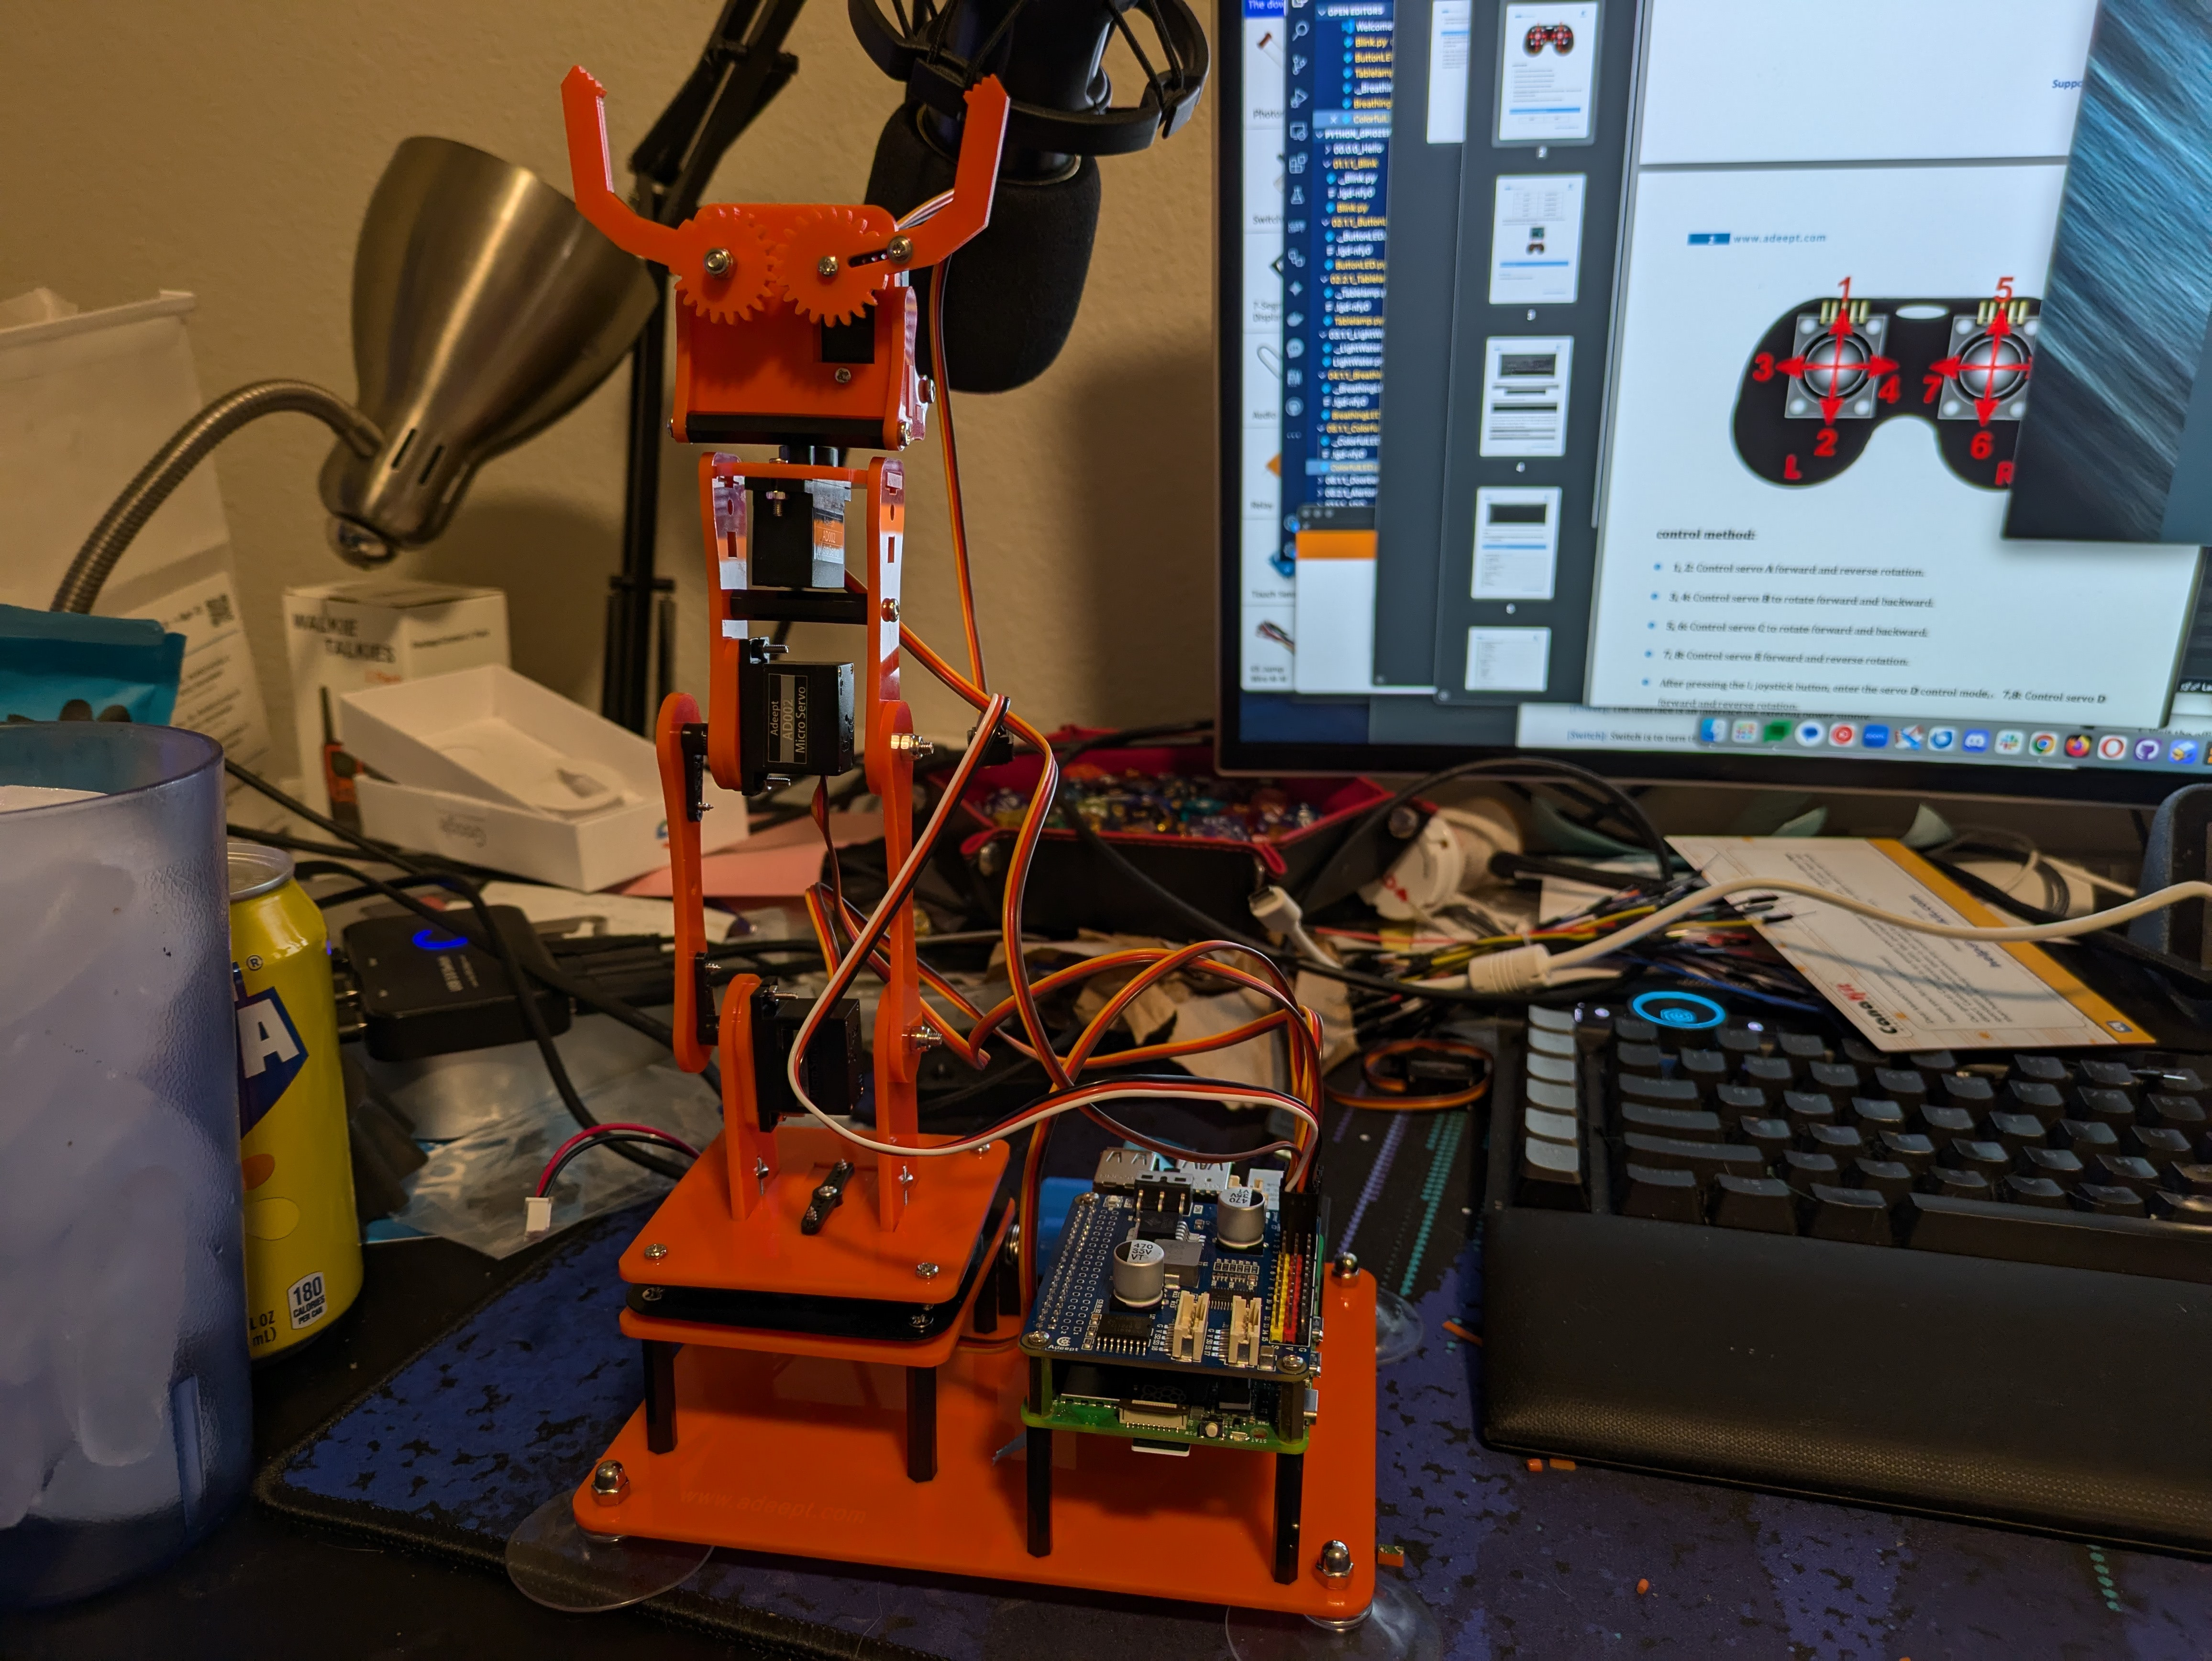
The kit’s included code was to control the arm using an also built controller, but I didn’t want manual, I wanted automatic. I used their code as a base and soon was able to program in sequences of movements. I stored a bunch of random movements and then adjusted it to work with 2 arms instead of 1. It was then just a matter of attaching these to the sides of the box (stabilized by the PVC Pipe skeletal structure), and here I found my first real problem.
The servos that came with the kit were very cheap and couldn’t handle lifting the arm when at the sides. I quickly bought some more powerful servos that were roughly the same physical size but twice as strong. I had to make adjustments to the python code to allow both arms to work simultaneously, but in the end, I had movement.
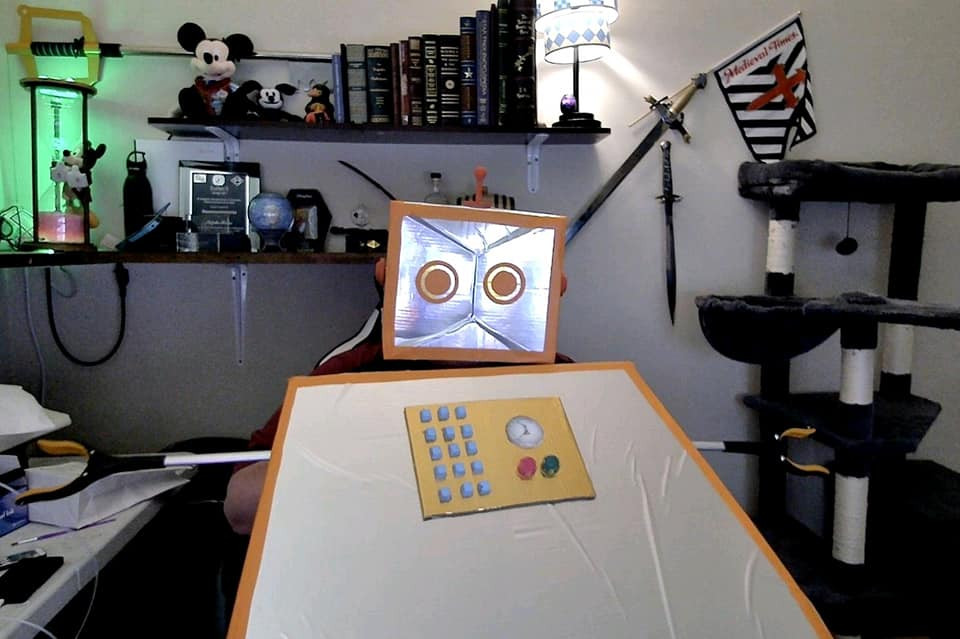
Step 4: Eyes and Antenna
I knew early on that I wanted JoeBot’s eyes to light up. Using a hole saw I drilled holes in the bottom of the box, as well as on the sides for the ears, and a smaller one on top for the antenna. I also drilled a hole in the bottom allowing the PVC Pipe to go up into the head, and I could string the wires from the Raspberry Pi in the body up to the Head.
I lined the back of the head with foil to make a reflector, and then printed Joebot’s eyes on regular paper which I put inside the box facing through the new holes to act as a diffusion layer to spread out the light from the LEDs in the head.
When I 3D Printed the antenna, I made sure to print it in a translucent orange color and making the stem of the antenna hollow. This allowed me to string an additional LED up through the antenna so that the top of the LED could blink, a homage to Rosie from the Jetsons.
I wrote up some python code that monitored network traffic from the Raspberry Pi in the body, the antenna blinked with network traffic similar to the LED on a network switch.
I put an additional LED in the chest that would also blink along with the Antenna in case people couldn’t see the antenna, and to allow for more dynamics on the chest.
Step 5: Speech and AI Conversation
I also wanted JoeBot to be able to speak with people who visited the booth. I worked with our lead AI Engineer at Jobscan to refine GPT-4 with information specific to Jobscan and our products.
In the end I could ask JoeBot a question about one of our products and it would give a pretty great answer. Speech to Text and Text to Speech is handled on the device, but the AI to come up with what to say was handled by some complex prompts to GPT-4 with additional specific data. It did a great job, I made sure to include instructions for a personality.
The text-to-speech system I refined to give JoeBot a more robotic sounding voice as the initial model sounded to human for someone I specifically wanted to sound like a sci-fi robot, but the refinement was not that difficult and soon I had a voice sounding similar to Johnny Five from the Short Circuit movies (Number 5 is ALIVE!).
Since the conversational model required network connectivity, I knew it would cause that antenna to blink a lot pretty much in line with Joe Bot talking, but I wanted the eyes to be more in line with the speech itself, so I wrote some python code that monitors what JoeBot was saying, and blinking the eyes in sync with the words being said.
I was also worried about what sort of network connectivity I’d have at the conference. Since the conversational mode required internet access, I wanted a backup in case the internet wouldn’t work correctly.
I wrote a separate script that had a number of statements, a mix of marketing statements about Jobscan and sci-fi robot jokes with a Jobscan or Resume theme.
I’m glad I did write that backup script, because it sadly turned out getting JoeBot network connectivity at the conference was next to impossible, and I had to go with the backup script most of the time, only switching on the conversation mode for short times when I had JoeBot tethering off of my phone’s 5G connection. Since the network connectivity was non-existent, I also modified the network light blinking code to also add some random blinks at random intervals so that the antenna was regularly blinking.
Finishing Touches
I spray painted the body and head silver, the legs, and feet orange (to match the arms), and I 3D printed a little name plate. I used a sharpie to blacken the raised edges and then glued this to the top of the bot in the style of a “Hello, My Name is..” name badge.

Conclusion
JoeBot was a tremendous hit at NACE 2024, and I’m quite proud of the project I did. What would I do differently? While I still think going with the Rubbermaid Tub for the body was the right idea, I’d love to build an actual metal body that is more rigid and could have the arms more physically attached. I’d also love to rebuild the arms with something more durable than thin acrylic sheets.
I learned a lot about controlling servos and doing speech-to-text and text-to-speech, as well as got to stretch my Python muscles, which is a language I rarely use in my career. I’m glad I did it, but I’m going to be a bit more careful saying things like “Well it wouldn’t be that hard to make…” statements in the future.